This is a LONG post. But there's tons of info/pictures in here!

Last year, I picked up a new medium to play with in my art journal - gouache.
It’s a magical kind of paint, shrouded in mystery and a decided lack-of-books or blogs devoted to it. I’ve always been the kind of girl who experiments with a material, but I like to know a bit of starting information before I begin playing around, a jumping-off point so I don’t waste materials by using them wrong.
But once I have a bit of a feel for it, I simply use it, and keep using it, becoming comfortable through application. You can read all the info you want on the web, collect books, and watch vids. None will teach you as well as your own experience.
I found a lot of this at the forums of Wet Canvas, where there’s a devoted monthly gouache thread and a bunch of beginning tutorials. However, the type of art they create, while amazing and beautiful, doesn’t really align with the kind of art I want to create. For that, I found inspiration in Becca Stadtlander and Lisa Congdon and that dynamic dream team of Mary Ann Moss and Pam Garrison. There are also a bunch of artists who use gouache in new and exciting ways, such as JAW Cooper and Amy Sol. And if you want a daily infusion, hit up the tumblr blog Gouache Collective.
And perhaps the biggest advocate of the awesomeness of gouache in an art journal is Roz from Roz Wound Up. Here’s her gouache compendium post that is, possibly, the holy grail of art journal gouache questions.
That’s all just to give you an idea of what other people are doing with this awesome medium. I’m going to approach this as the student-me, and answer all the questions I had when I was getting started. If you have any that haven’t been covered, feel free to leave a comment or shoot me an email & I’ll be happy to clarify things for you.
What is gouache, exactly?
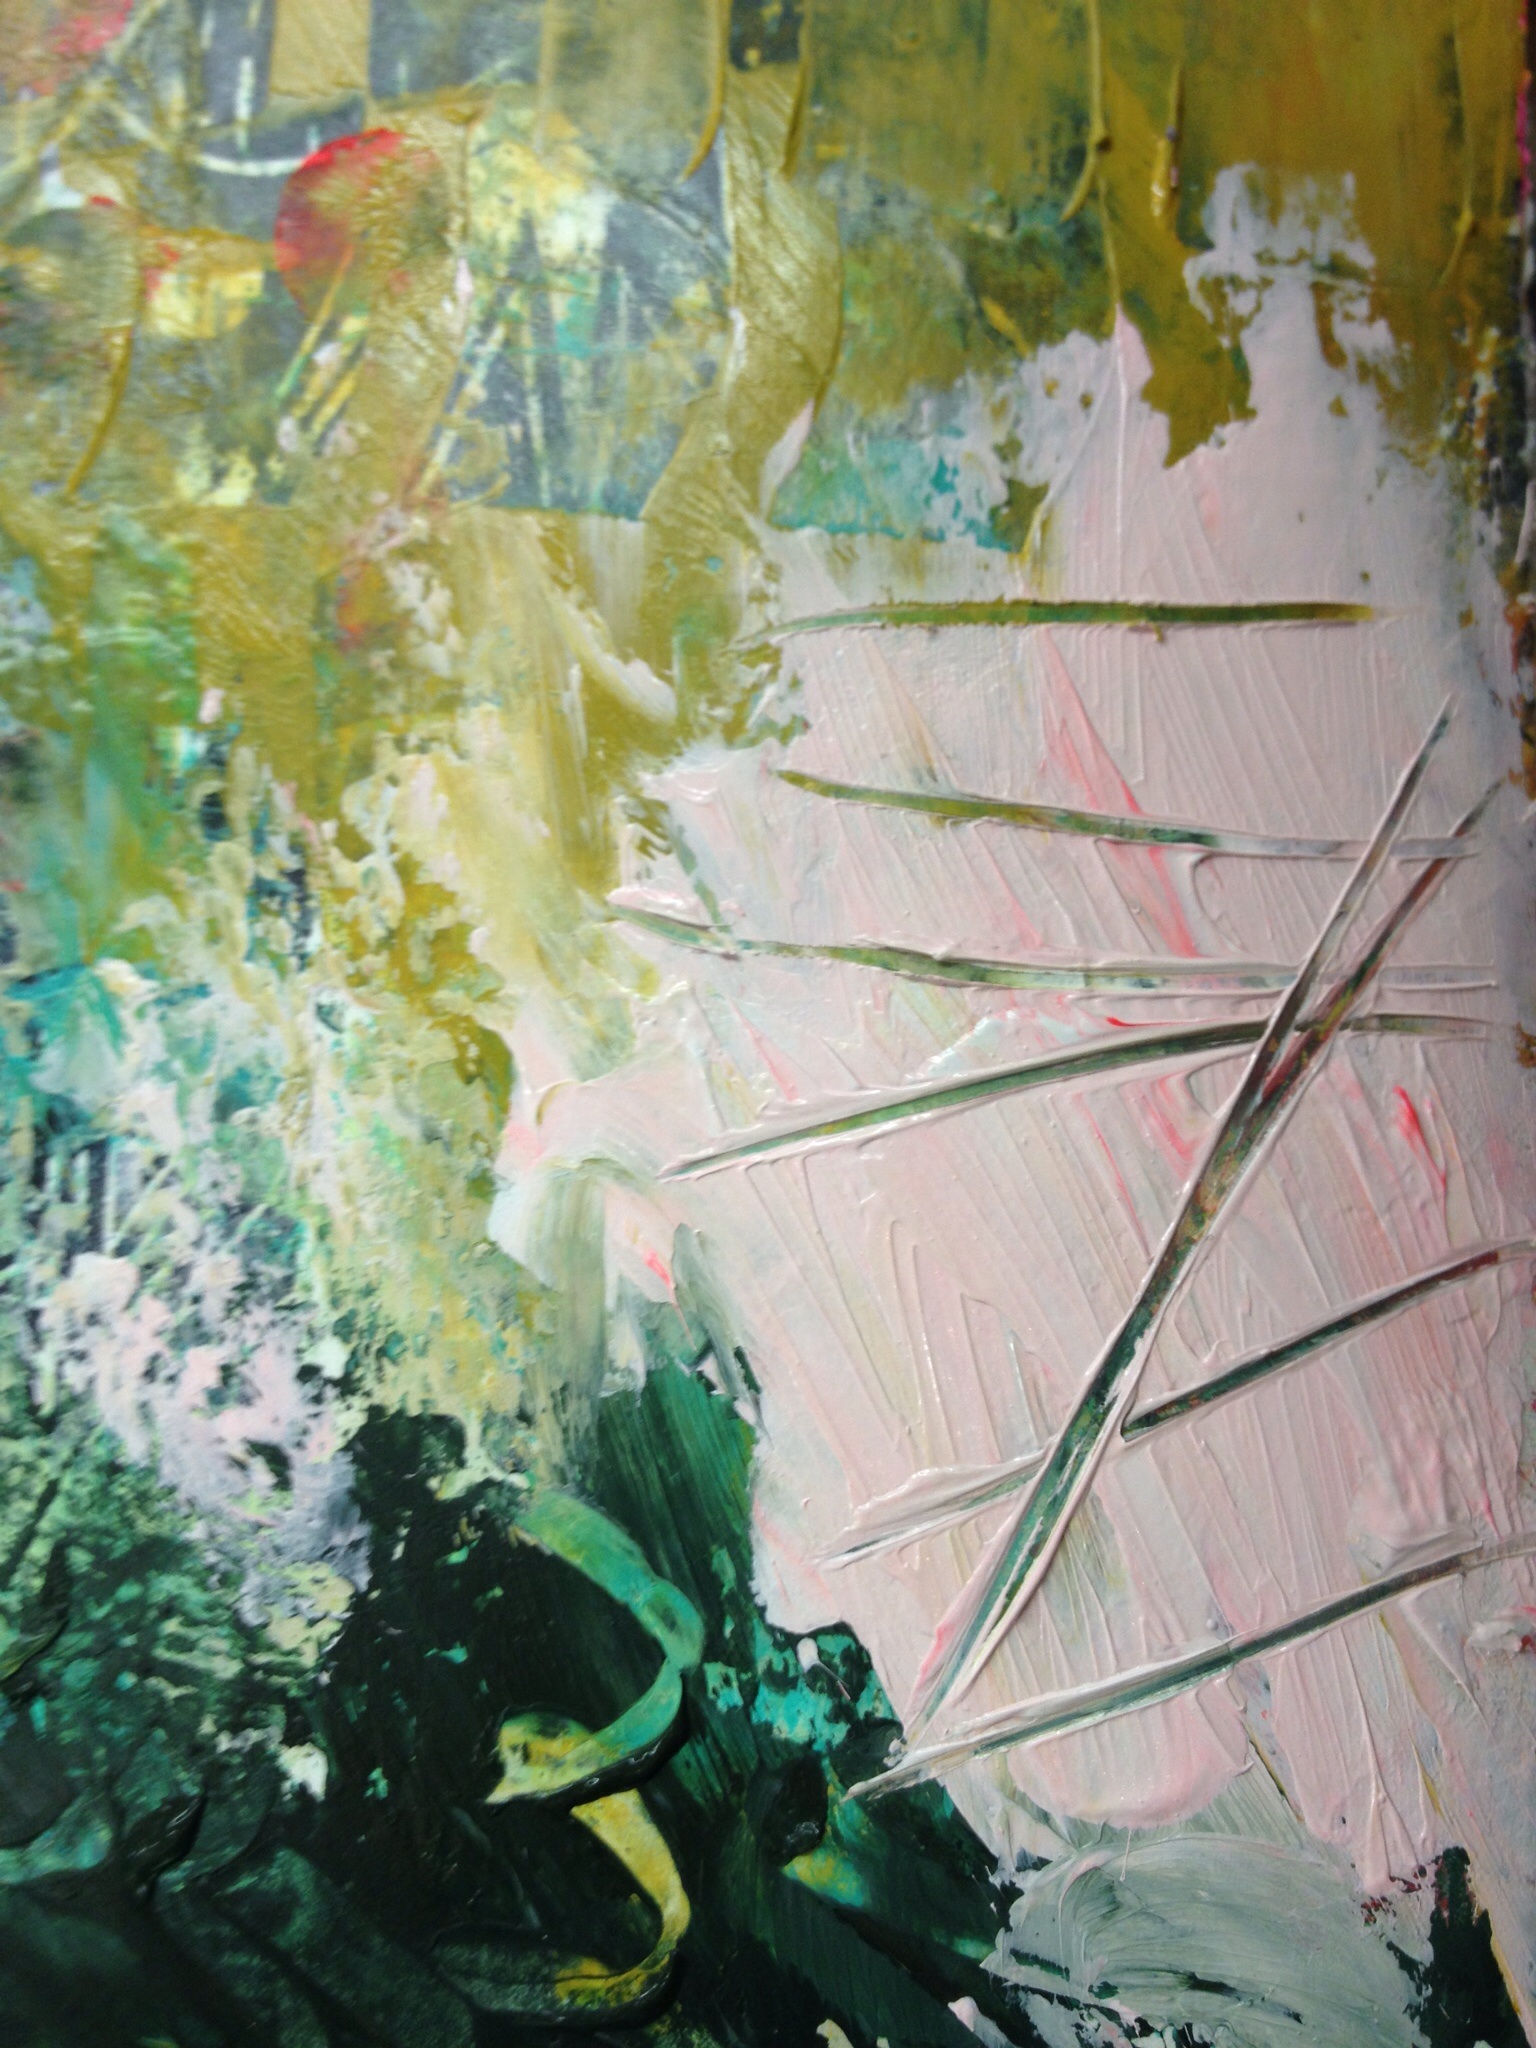
Gouache is, at it’s core, an opaque watercolor. Traditional gouache is bound with gum arabic, just like watercolors. However, gouache has way more pigment in it, which gives it its covering power and matte, flat finish. Yep, there’s no shine to gouache…it dries flat, which is what makes it excellent for illustrations, as you can photograph or scan it and the colors will be captured brilliantly.
Because traditional gouache is bound with gum arabic, it can be mixed with watercolors.
The second type of gouache is acrylic gouache. This is what I use because it is amazing. The difference is the binder, or what holds the pigment together…this gouache is the love child of traditional gouache and acrylics, and boy do I love it.
You see, regular gouache can be re-wet, just like watercolors. So you have to be careful when layering because you can pick up previous layers. But acrylic gouache can be layered much like acrylic paint, with the added awesomeness of concentrated pigments and matte finish.
What is it used for?
Gouache is a favorite of illustrators and plein air painters. It dries fast & can really produce striking colors. It can also be used for larger format pieces, but if applied in too thick a layer, can crack & flake. It’s best for smaller pieces and in an average sized art journal. Sometimes, artists will do a piece in watercolor or acrylic, and then go back in to add details and final elements with gouache.

How do you use it?
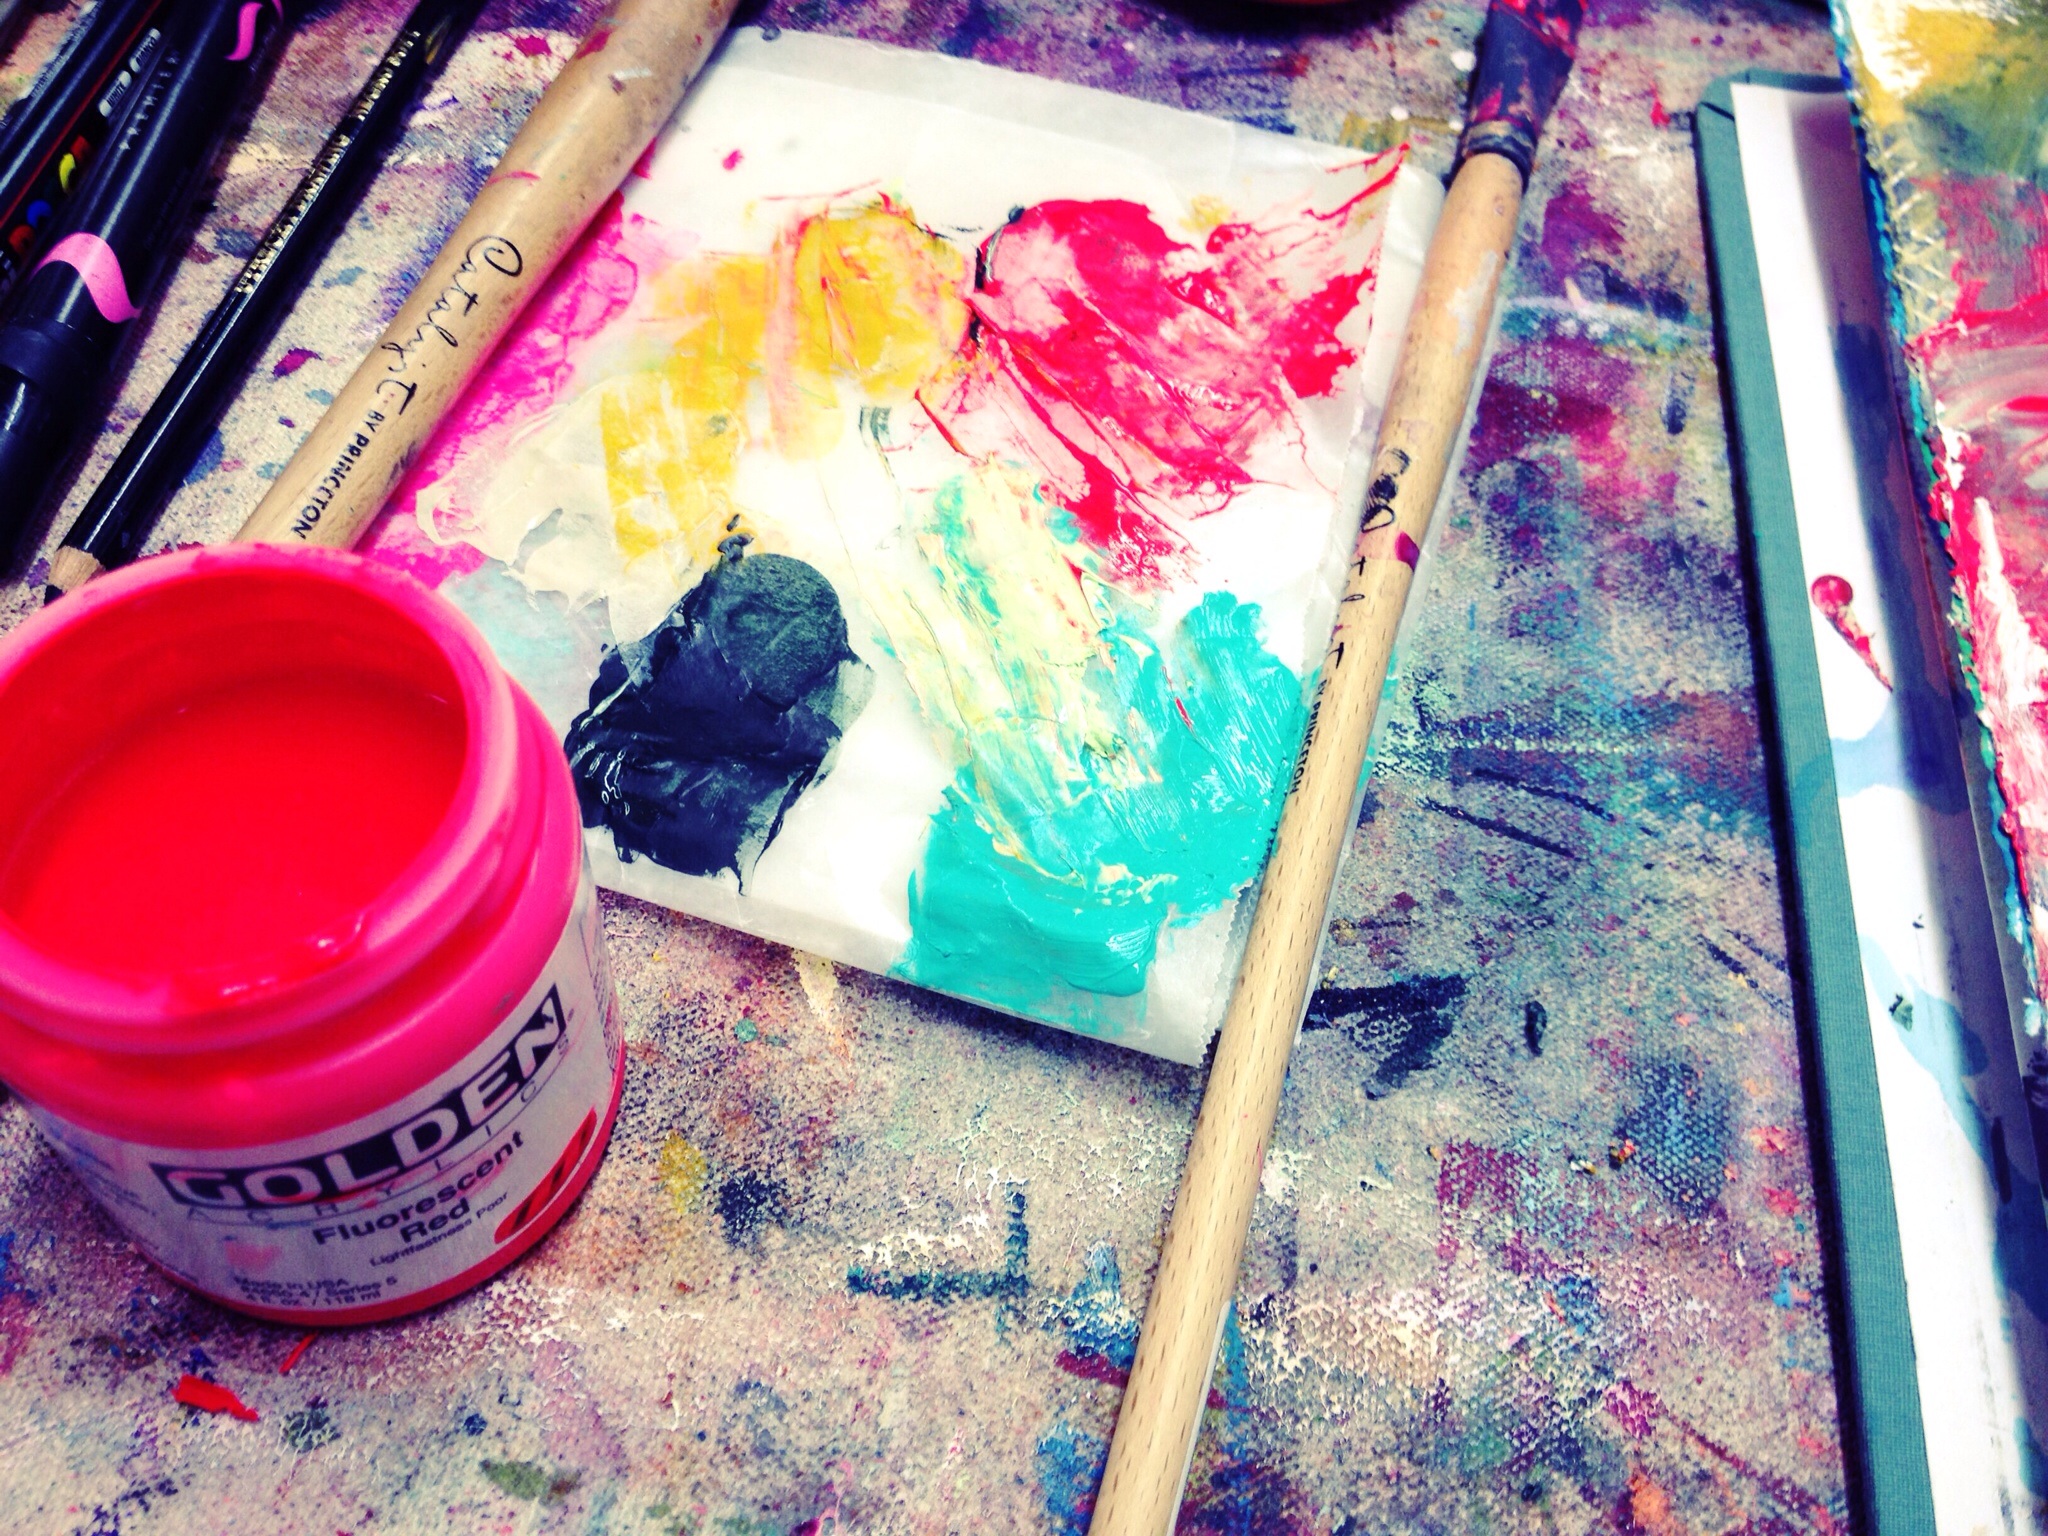
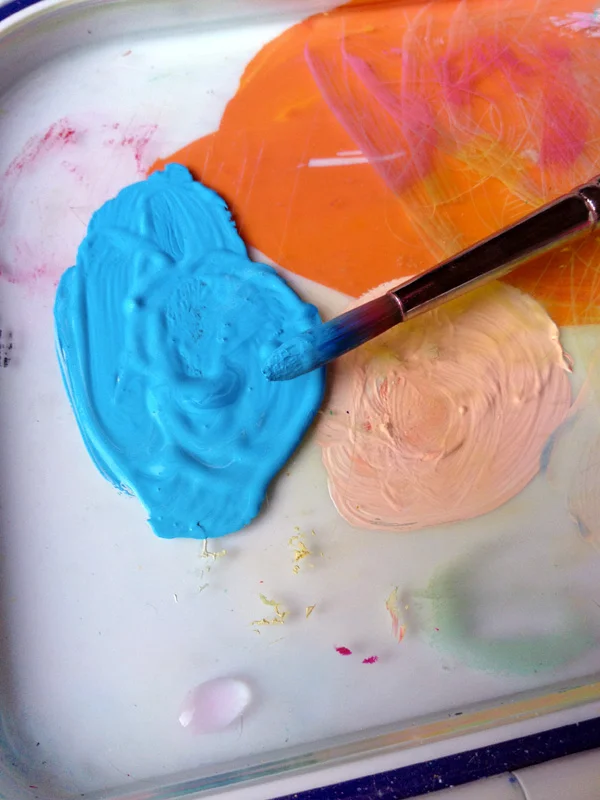
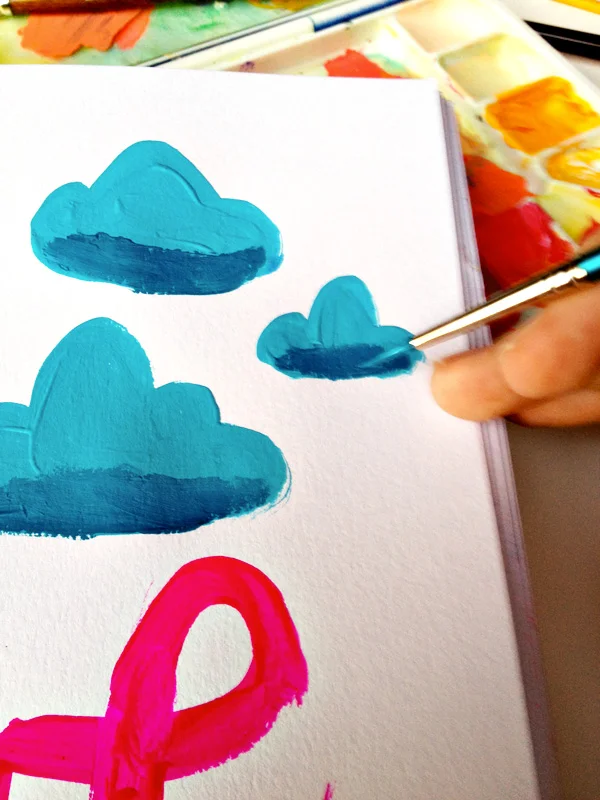
A little can go a long way. I start with a small, dime-sized amount on my palette & add a brush full of water. That means I just dip my #6 round into my water dish, tap it a little on the side, and mix that into the gouache. You want it to be a nice, creamy consistency that is easy to spread (this is also why hand-lettering artists love using it!).

PS. These aren't the same colors...just as close as I have in each kind.

If you want to do a glaze or thinner layer, you can mix traditional gouache with gum arabic, or acrylic gouache with any acrylic glazing medium you have. All those fancy mediums you use with your acrylics can be mixed with the acrylic gouache!
Because it’s opaque, you have to mix colors with white to create lighter tints, and mix in black or a neighboring shade to create, well, darker colors. This takes a little learning, color mixing & theory, but I say just start playing around and you’ll soon get the hang of it. I can’t tell you how to mix many of my favorite colors just because I do it instinctually these days!

Many lines of gouache carry lots of colors so you don’t have to do much mixing at all.
What kind of brushes do you use?
Personally, I’ve found that round brushes for watercolor work the best. The bristles hold the water and paint really well, and the size and type of painting I’m doing works best with round brushes. I do have one wash brush for larger areas (mostly backgrounds), but that’s it!
Because gouache is so velvety smooth (seriously, run your hands over a painted page and yuuuum!), synthetic brushes are best, since you aren’t looking for the texture that comes with using natural bristles. I use Blick studio, Windsor & Newton Cotman, & Simply Simmons brushes.
Can you put it in pans like watercolors?
Yep! Traditional gouache can go in little pans — here’s a post by Mary Ann where she explains her method — but the acrylic gouache can’t. :( Because it’s acrylic, when it dries, it’s DRY. This is why you need to kinda know what you’re doing before you get started.
What’s the best way to work?
Gouache, like watercolors, is a medium that lends itself to planning rather than spontaneous expression. While you don’t have to have everything drawn out before you start to paint, it pays off to do everything of each color and shades/tints at a time, even if that means there are holes. You can’t squeeze out five colors and work all over the place for a half hour/hour like you do with acrylics — having an idea of what you want to paint beforehand really helps cut down on wasted paint.
I also have an airtight palette that can help extend the life of my paints, in case I get interrupted…I just close it up and the paints keep for awhile. Of course, if you’re working with traditional gouache, such as the cheap Reeves set, you can re-wet things. I once squeezed some of that into my palette, and it kept tacky/wet for about three days!

It works to layer things. Put down a mid-tone everywhere and start layering the highlights and shadows over that. Looking at the progress pictures of those artists I linked, or going through the Wet Canvas forums will give you an idea of how others work. I recommend sitting and working with the gouache on your own for a couple of weeks to develop your own plan of attack.
Because of the matte finish, you can layer colored pencils, crayons, pencil, and more over it easily once it’s dry.
Can I use water brushes with it?
I’ve used mine with both types of gouache…just as long as you keep the bristles clean, I don’t see a problem.
Why do you love it so much?
Hrmm. There are a couple of reasons. I love the rich, velvety texture and the matte finish. Like, a lot. It makes me giddy and happy to look at and feel.
Because of the matte finish, my journal pages don’t stick together at all.
It is opaque, which means I can layer colors and have total coverage. I used to use a lot of paint markers, but now I can use paint! When I say it’s opaque, I mean it’s really opaque.
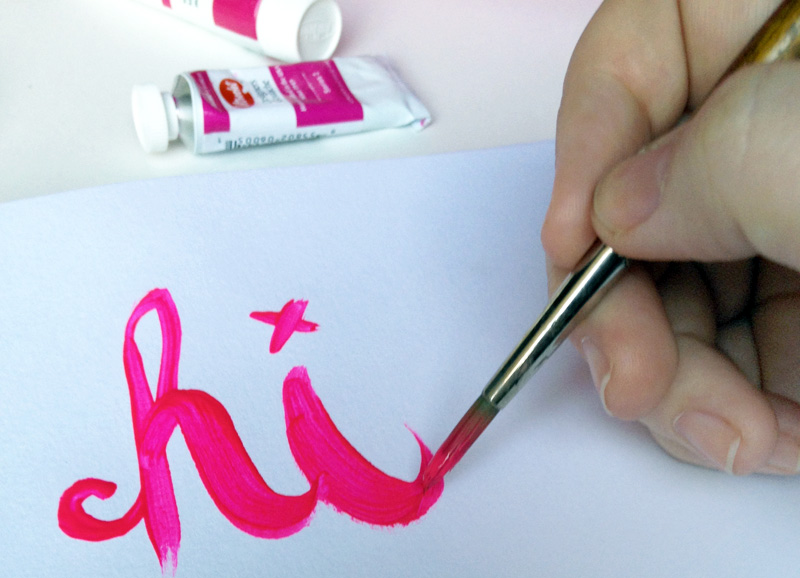
It’s really easy to draw with and do lettering. Once you mix it with water and get the right consistency, it’s a dream to practice pretty handwriting or draw. I love doing the first layer with a magenta color, then adding layers over that. I mean, I love my fluid acrylics, but the acrylic gouache has the coverage I love and seems to flow a bit better.
The tubes are MUCH smaller and easier to transport. I have about 20 in my tackle box, meaning I can carry one box and journal anywhere. When I started using it, I balked at the cost — about $5.89 each at Blick (I use the Holbein Acryla Gouache). That’s pretty expensive for a little tube! But you really do get a lot from it and if you plan things out, don’t have to worry about mixing or wasting any. And by plan things out, I mean I do a fast, loose sketch and have a general idea (and the opaque thing covers both pencil and INK lines!).
As for brands and such:
Reeve’s has a great starter gouache set that you can get for under $10 at most big box hobby stores. The paint isn’t the best, but it’s a great way to start playing and see if you like it. I did the cover of this journal with it, and it worked wonderfully.
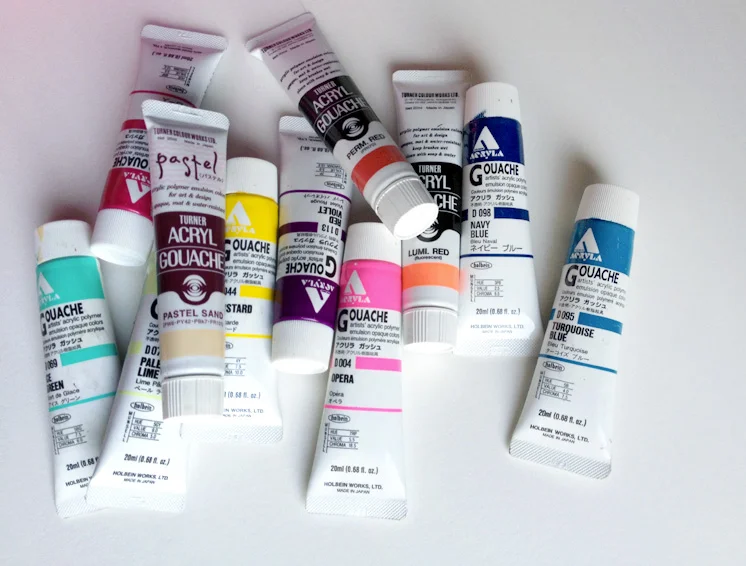
Personally, I use Holbein Acryla Gouache. I’ve tried the other brand, Turner Acryl Gouache, but found it isn’t nearly as creamy as the Holbein stuff. You have to mix in a little more water to get it to the right consistency, and I’m willing to pay $.10 more for the yummy stuff.
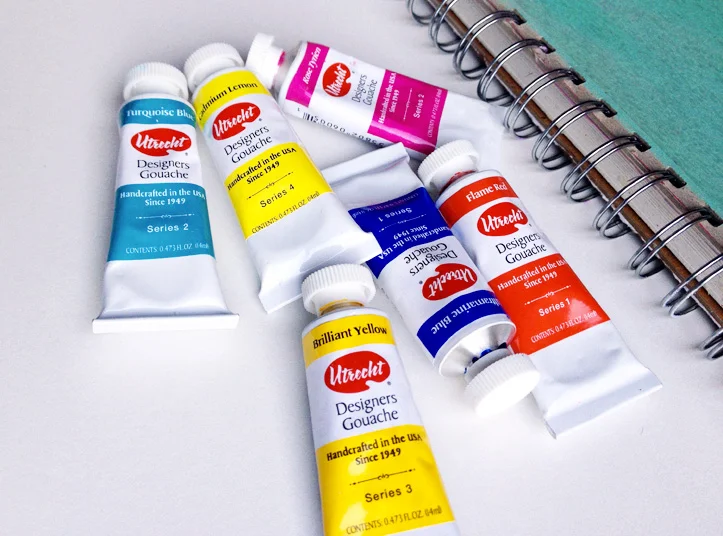
My set of traditional gouache is the Utrecht Designer set. I got it on sale for Christmas, so keep an eye out for the next time it hits $30. It has both warm and cool versions of basic mixing colors, and is really smooth and lovely.
Roz recommends either M. Graham or Schmincke. Since I don’t use traditional gouache much, I haven’t tried either of these brands, but I trust Roz’s judgement.


It can be scary to start using a new medium! We want to know all the rules, and have demos, and make sure we’re doing it right. But learning comes from doing, and the way I’ve learned so much is through research and nearly daily application of the stuff. I decided to do all the drawings in the Red Storybook with it since it doesn’t bleed through the page and can be used on thin sketch paper. Yep! Because of how dense the pigment is, you don’t need watercolor paper for it to work right. Anything you can color with paint pens, you can color with gouache.
I really hope this answered your questions! Phew! 4 pages! If you have more questions, feel free to ask. I’m thinking if there’s an interest, I may do a mini-less on it!
Just…don’t be afraid to take something out of the box and mess around with it. Unused art supplies are sad because they want to help you express yourself, so take them out, make a mess, and learn something new!